
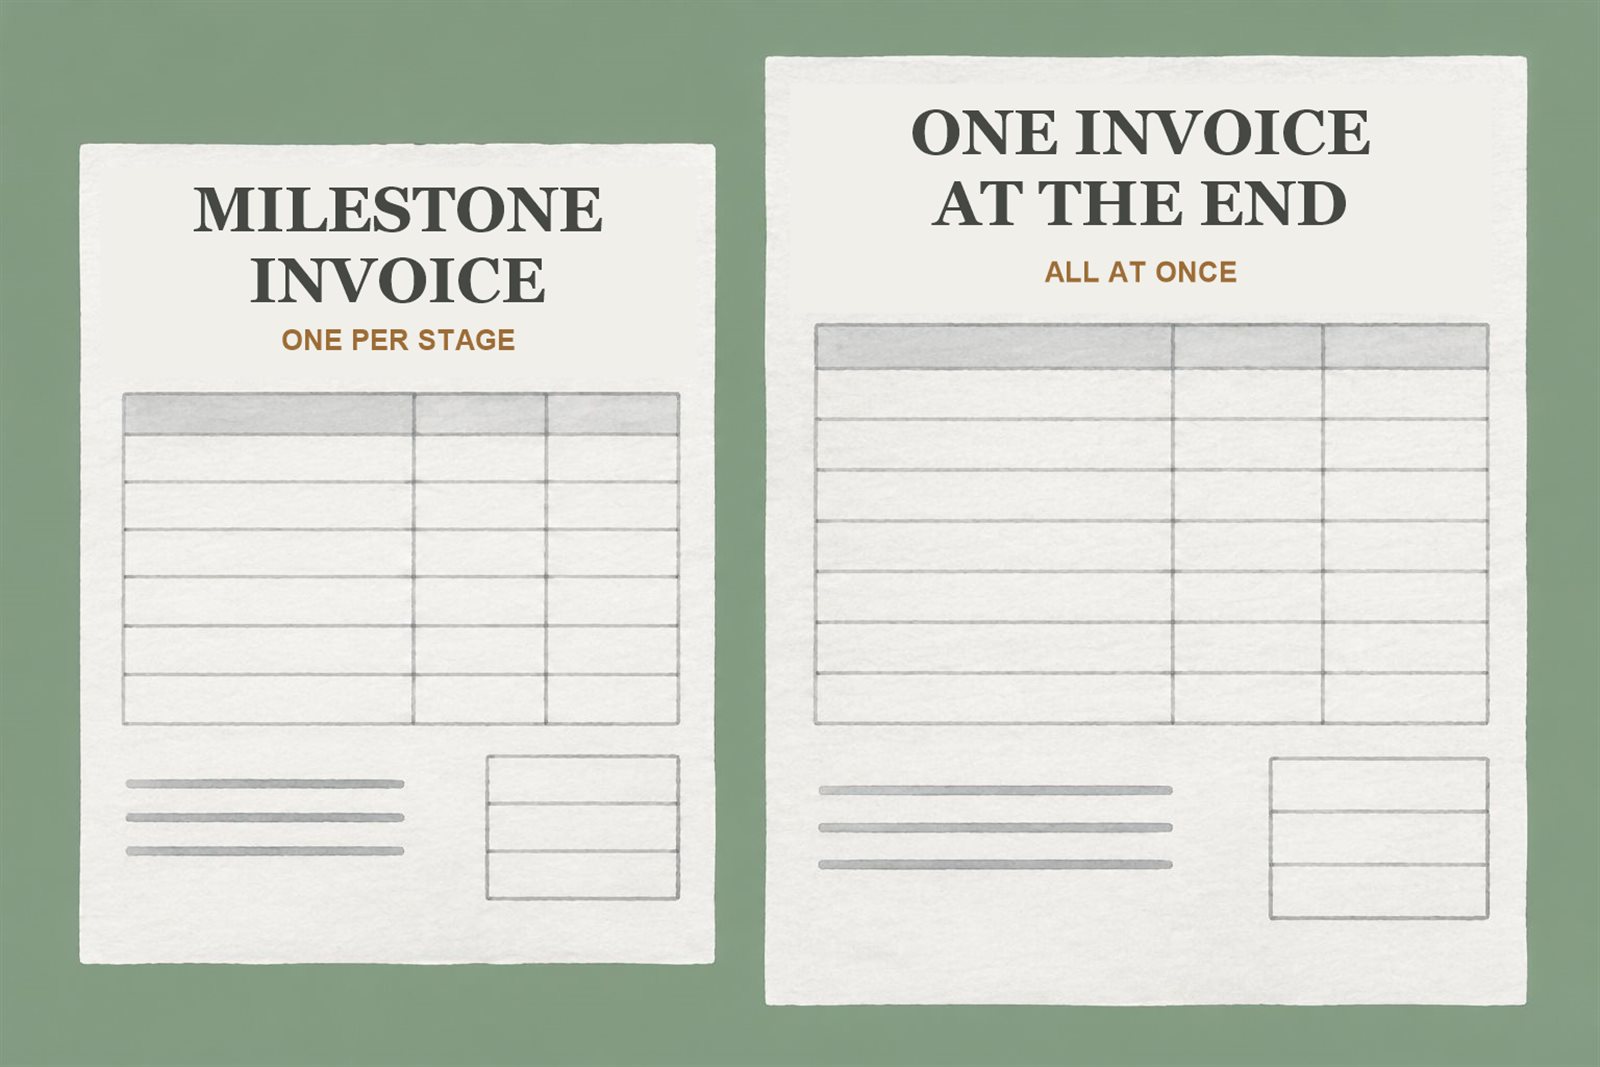
If the job is short and the client is someone you know, one invoice at the end is usually fine. If the job runs longer than a few weeks, or a large share of the money only arrives when it’s all done, split it into milestone invoices. That’s the short answer. The rest of this post is about where the line sits and how to set milestones up so they’re easy to pay.
What a milestone invoice actually is
A milestone invoice bills for one agreed stage of a project, when that stage is done. Instead of one invoice for the whole job at the end, you send two, three or four smaller ones as the work moves along.
It isn’t the same as a deposit. A deposit is money up front, before the work starts. Milestones are payments for work you’ve already delivered, part by part. Plenty of projects use both: a deposit to book the time, then milestones, then the balance. If the deposit part is the one you’re unsure about, we covered that in Asking for a deposit without flinching.
When one invoice at the end is fine
One invoice is simpler for everyone. Your client has one thing to approve, and you have one thing to chase. It fits when:
- the job takes days or a week or two, not months;
- the amount is small enough that waiting for it won’t hurt you;
- you’ve worked with this client before and they pay on time.
A one-day photo shoot or a short copy edit rarely needs stages. Splitting a small job into three invoices just makes three times the admin.
When milestones are the better choice
The longer a project runs, the longer you’re working without being paid. On a three-month job billed at the end, you’ve carried your own costs for the whole of that time, and you’re trusting that nothing changes on the client’s side before the last day.
Milestones help when:
- the project runs for more than a month or so;
- the total is large compared with what you earn in a normal month;
- it’s a new client and you don’t yet know how they pay;
- the work has natural stages anyway, like design, build and launch.
There’s a quieter benefit too. If a client goes quiet or the project stalls halfway, you’ve already been paid for the finished stages. You aren’t left with one large unpaid invoice for work that may never be signed off.
How to split a project into milestones
Tie each milestone to something the client can see and approve, not to a date alone. "Homepage design approved" is clear. "End of week 3" invites the question "approved what, exactly?"
Here’s an example. Say you’re a web designer, and Emma Clarke at Harper & Lowe has asked for a new five-page website for 4,000 (in whatever currency you agreed). You might split it like this:
- 30% deposit to book the start date: 1,200
- 30% when the homepage and page designs are approved: 1,200
- 40% when the site goes live: 1,600
Keeping the final payment slightly larger is one option, because it holds both of you to finishing properly. But there’s no single correct split. Agree whatever you choose in the proposal before work starts, so each invoice is a reminder of something already agreed, not a new request.
Make each milestone invoice easy to match
Your client’s accounts person may see these invoices weeks apart, without the project context. Make each one stand on its own:
- Give every invoice its own number. Don’t reuse the first number with a "-2" unless that’s your normal numbering system (more on that in How to number your invoices).
- Name the stage in the line item: "Harper & Lowe website, milestone 2 of 3: page designs approved".
- Show what’s been paid so far and what’s left after this one, either in the notes or as a short line.
- Use the same due terms on each, so the client knows what to expect.
If you’re registered for VAT, GST or sales tax, check how your country treats deposits and staged payments, because the rules on when tax is due can differ. That part is general guidance, not tax advice.
Doing it in Wizard Invoice
Wizard Invoice handles both styles, so you can choose per project.
For one invoice with a deposit, on the Work step tap "Discount, tax or deposit", then pick a deposit under "Deposit up front" (None, 25%, 30% or 50%). The invoice then shows "Deposit due now" under the total. When the deposit arrives, open the invoice and use "Record a part payment". The invoice switches to show the balance due, and your invoices list shows how much is left. Once payments cover the whole total, it’s marked as paid by itself.
For separate milestone invoices, make the first one through the wizard as normal. For the next stage, open that invoice’s menu and choose Duplicate, then change the line item to the new stage and the amount. If the first invoice asked for a deposit, set the deposit back to None on the copy. Each copy gets the next number, today’s date and the same payment terms, and your dashboard shows what’s still owed across all of them.
One honest note: on the Free plan, each milestone invoice counts towards your 5 invoices a month. For most projects that’s plenty, but if you’re running several staged jobs at once, it’s worth knowing.
If you’d rather try a single invoice first without an account, the free invoice maker works for that.
A simple rule to start with
If you’d be uncomfortable waiting until the very end to be paid for all of it, use milestones. If you wouldn’t notice the wait, one invoice is fine. And whichever you pick, write it into the proposal before the work begins, because a payment plan is far easier to agree at the start than halfway through.

Comments
No comments yet. Be the first to add one.